You can now make your own personalized wine bottle labels with the aid of a special software application called LabelMaker. It is an application that is easy to use and helps you create personalized label designs quickly and easily. The application lets you upload photos, add text, and add graphics to your design.
Create a template
If you are planning a special event such as a wedding or a housewarming party, creating personalized wine bottle labels and having custom wine bottles for guests is a great way to add a personal touch to your bottles. These labels can also be used as a souvenir of a memorable occasion.
Before you begin designing your own labels, make a list of ideas. You can get inspiration by looking at the wine label designs available online. Or you can create a design by yourself using your favorite design software.
Once you have an idea for your own design, you can start experimenting with different sizes and shapes. Print a test label to ensure that you have the right size and that it will not fall off of the bottle.
Upload photos
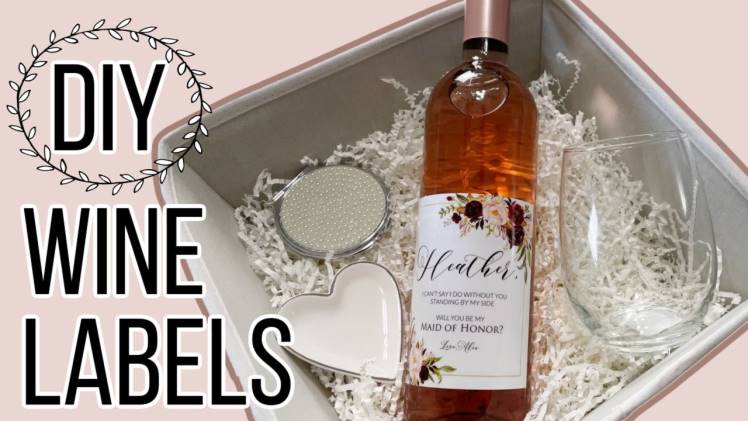
A great way to create a personalized wine bottle label is to upload a photo. It is an inexpensive way to add fun to your bottles, and make your wines stand out. Personalized labels are ideal for special occasions, weddings, or birthdays. They are also perfect for bridesmaid proposals and thank you gifts.
To get started with the process of creating your own personalized wine label, you’ll need a few tools. You can use Adobe Express to design your own label. This tool allows you to choose the size of the label, and also edit the font and color scheme. Visit for know about : my puppy poop
Adobe Express is free to download. Creating your own custom wine label is easy and allows you to share your design with friends and family. visit for more about: Jio Rockers Kannada
Add graphics
There are a number of ways to add graphics to wine bottle labels. Some of the more obvious options are using images, photos, or stock graphics. Other options include creating a design using a graphic editor. Whether you’re using a software program or an online graphic editor, you can create custom labels that will entice customers.
For example, a graphic editor will allow you to add a custom icon or floral ornaments. A hand drawn design can also add a personal touch to your label.
If you’re designing a wine bottle label for an event, you can add a name, date, or quote. In addition, you can add your brand’s logo, or even photos of people enjoying the wine. You can also add a custom font to your label.
Add text
When it comes to designing your own wine bottle label, you have many options. You can choose to design your own from scratch or to use a pre-made template. The good news is that you can customize either of these options.
In addition to the usual ingredients (brand, bottler, etc.), you can also add in more details like the region of the wine and the net contents. Aside from this, you can also add a photo or logo. This can be especially useful if you’re designing a label for a brand that isn’t yet known to the public.
Adding text is easy. To start, open a new document in Microsoft Word. Once you’ve created your template, you’ll be able to select the font and style that best suits your needs.
Apply the label
Applying personalized wine bottle labels is easy. Using the Internet, you can order your labels online and have them delivered right to your door. You can choose to add your own design, or use the provided templates. There are a variety of different types of labels, including waterproof, waterproof-resistant, and reusable.
When choosing a label, consider the type of wine you’re making. Some will need to contain warnings about alcohol content, serving facts, and other information. If you plan on selling the label, you’ll need to include the following information: TTB, appellation, brand, bottler, grape variety, and volume of alcohol.
Once you’ve selected the right label for your bottle, you can start applying it. Begin by laying out the bottle on a firm surface. Position the label on the center of the bottle. Then, move outward to the sides. Be sure to smooth the label over the bottle.